How to Find and Organise Your Photos in Google Photos
Most of us have thousands of photos on our phones, and finding that one picture from a holiday three years ago can mean scrolling for ages.
Google Photos has powerful tools to organise everything, and most of them work automatically. Here's how to find any photo in seconds and keep your library tidy.
Before you start: Android menus vary a little between phone makers. The steps below use Google Pixel / standard Android names, with Samsung Galaxy differences noted. If you can't find a setting, tap the search bar at the top of Settings and type its name.
How to organise your photos on Android
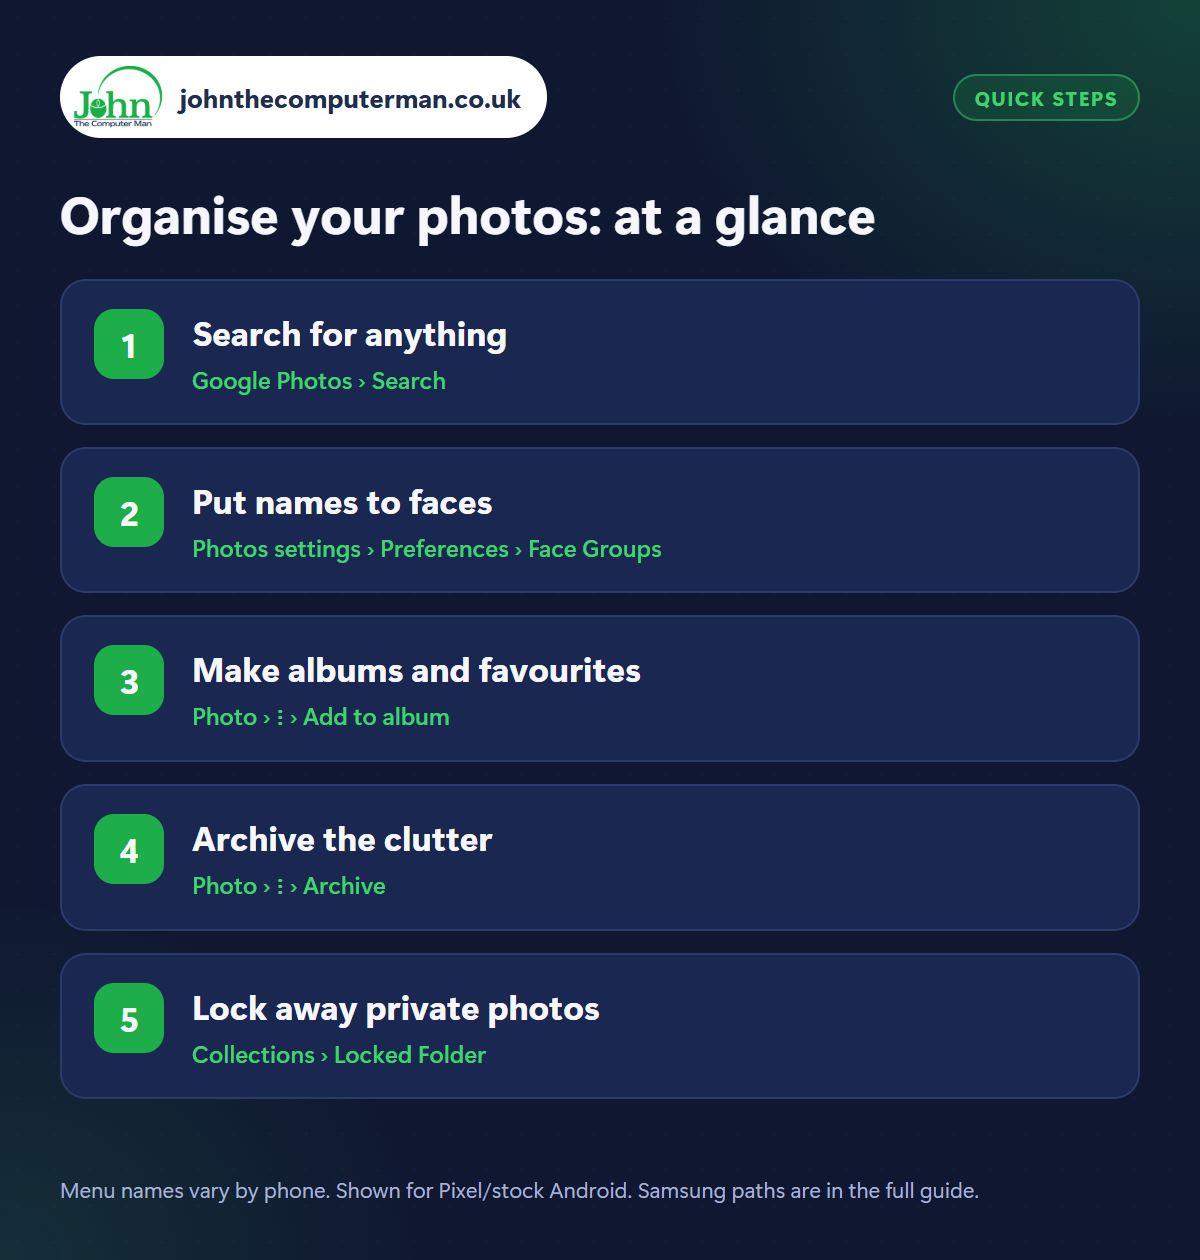
Step 1: Search for anything
Where: Google Photos › Search
Tap Search and type what's in the photo: ‘dog’, ‘beach’, ‘birthday cake’, ‘red car’. Google Photos recognises what's in your pictures, so you don't need to have tagged anything. You can also search places (‘Edinburgh’), dates (‘June 2023’) and even text in photos, such as a receipt or a sign.
Step 2: Put names to faces
Where: Photos settings › Preferences › Face Groups
Google Photos can group photos of the same person together. Check Face Groups is on in profile picture › Photos settings › Preferences (the name can vary slightly). Then open Search or Collections › People & pets, tap a face and Add a name. Now searching ‘Mum’ or ‘Mum and Dad’ finds every photo of them, and it works for pets too.
Step 3: Make albums and favourites
Where: Photo › ⋮ › Add to album
Tap the star on your best shots to add them to Favourites, a quick way to find the ones you love. For trips and events, select photos (long-press one, then tap others), tap Add to › Album and name it. Albums can be shared with family so everyone can add their own photos from the same holiday or party.
Step 4: Archive the clutter
Where: Photo › ⋮ › Archive
Screenshots, receipts and photos of documents clutter up your photo timeline. Select them and tap ⋮ › Archive. They're hidden from your main photos view but not deleted. You can still find them in search and in Collections › Archive. Google Photos may also suggest things to archive for you.
Step 5: Lock away private photos
Where: Collections › Locked Folder
For photos you don't want anyone to see if they're scrolling your phone (ID documents, private pictures), use Locked Folder. Find it in Collections (or search ‘Locked Folder’), set it up with your screen lock, then move photos in with ⋮ › Move to Locked Folder. They're hidden from the gallery and other apps. Check the backup setting in Locked Folder if you want them saved to the cloud.
Pro tip
💡 Search ‘screenshots’ or ‘selfies’ to quickly find them all, or type a word that appeared in a photo, like a shop name on a receipt.
FAQ
Does face grouping work in every country?
Face Groups isn't available in every region. If you can't see the option, it may not be offered where you live.
If I delete a photo in Google Photos, is it gone everywhere?
Deleting removes it from your phone and Google account. It sits in Bin for 60 days (backed-up items) so you can restore it.
Can my partner see my photos automatically?
Only if you set up Partner sharing. It's off by default, and you choose exactly which photos to share.
The bottom line
Search does most of the hard work for you. Add names to faces, favourite the best shots, archive the clutter, and your photo library goes from overwhelming to organised.